
![]()
Food | Travel | Family | Life
![]()
My father-in-law celebrated his birthday on the weekend, and we definitely needed a cake to cut and enjoy. My FIL has two favourites – the tres leches and just plain cake. Since we had the tres leches last month for my MIL’s birthday, I opted for the plain cake.
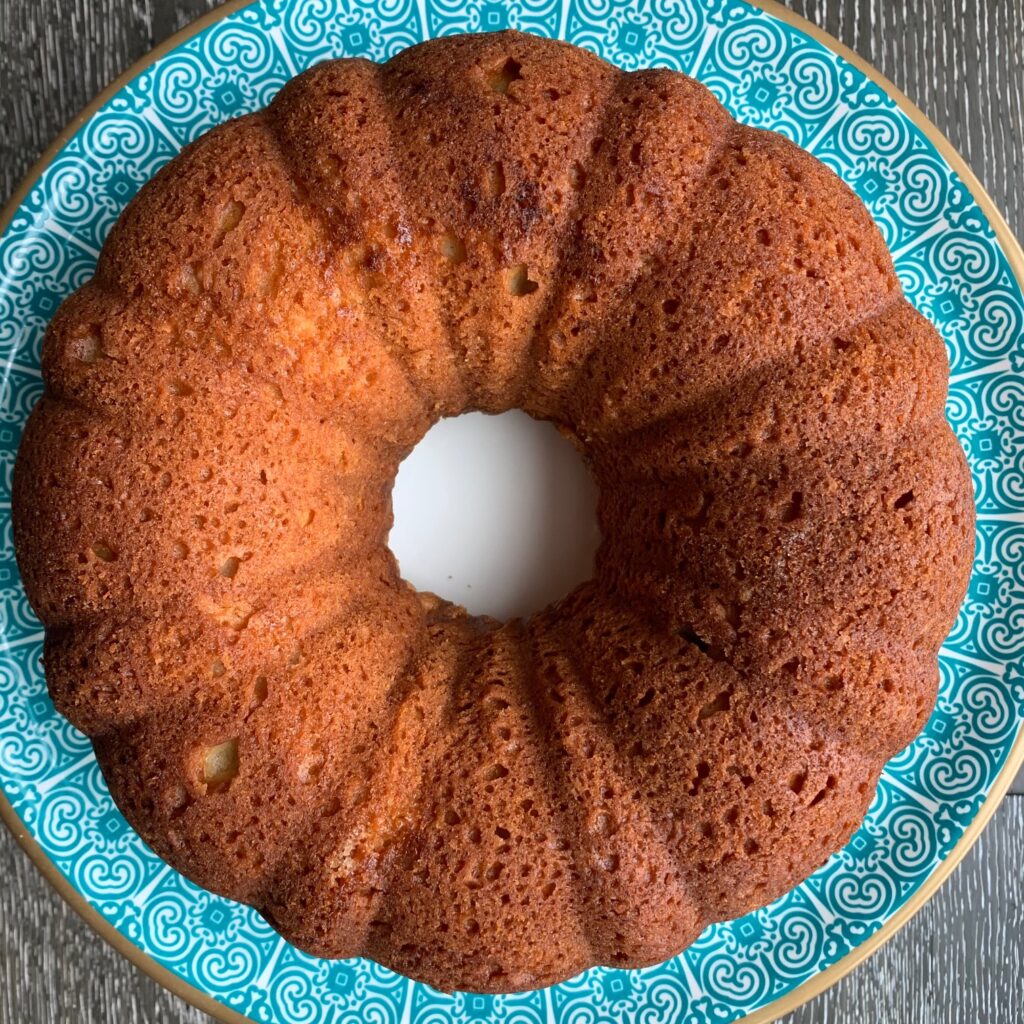
This plain and simple cake is one of my favourites as well. It is moist and buttery and is so comforting dipped in a cup of tea. Since we were celebrating a birthday, I added some icing to make it more festive. With or without icing, it’s always well received.
 Save Recipe
Ingredients
Instructions
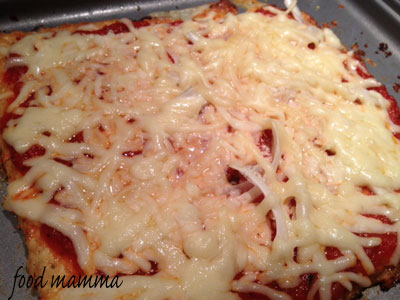
The recipe for cauliflower “bread” sticks were making the rounds on Pinterest a while ago and I finally had a chance to make them this week. They were so good, I had to make a second batch the same day.
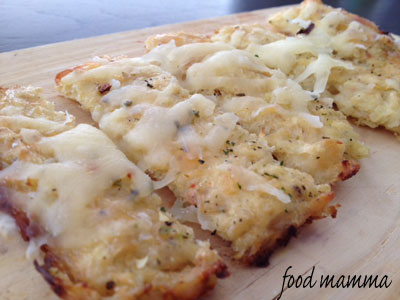
Looking at them, you would never guess that these sticks were made out of cauliflower! Combined with eggs and cheese, they were irresistible. I think they are hubby’s new favourite thing.
This also makes a fantastic crust for a pizza! This is an amazing recipe that is so full of flavour. With a sometimes picky four year old, I love that it incorporates veggies in a very sneaky way.
Cauliflower “Bread” Sticks(From An Edible Mosaic)
1/4 of a large head of cauliflower or 1 1/2 cups grated
1 teaspoon olive oil
2 cloves garlic, grated or minced
1 large egg, lightly beaten
4 oz mozzarella cheese, freshly grated and divided (low-fat cheese is fine)
1/2 teaspoon dried Italian herb seasoning, divided
salt
pepper
Preheat the oven to 350F. Line a tray with parchment paper and spray it with cooking spray.
Grate the cauliflower, using a cheese grater or a food processor. Put the grated cauliflower into a microwave-safe bowl and microwave (uncovered) until softened, about 6 to 8 minutes, stirring occasionally (don’t add water or anything else); cool slightly.
To the bowl with the softened cauliflower, add the garlic, egg, 3/4 of the cheese (reserving 1/4 for topping later), 1/4 teaspoon of the dried Italian herb seasoning (reserving 1/4 teaspoon for topping later), and a pinch of salt and pepper. Stir to combine and then spread on a sheet pan forming it into a pizza crust.
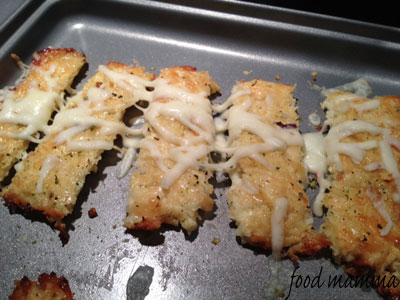
Bake until set and starting to turn golden, about 30 minutes.
Preheat the broiler. Cut the crust into sticks. Slightly separate the pieces and sprinkle the cheese on top along with the remaining 1/4 teaspoon dried Italian herb seasoning. Broil a couple minutes until the cheese is melted and golden in spots. Serve hot or warm. (If you let it cool for about 10 minutes after taking it out of the oven, the crust will harden a bit so it’s easy to hold like a thin-crust pizza.)

I can’t believe it’s already March! Despite the crazy storm we had yesterday and the foot of snow we have outside, March is one of my favourite months. It’s full of birthdays! Mine, my dad’s, my father-in-law’s, nephews, nieces, many friends…meaning lots of cake!
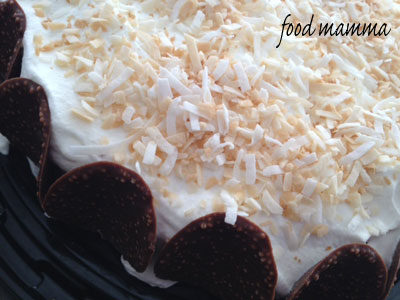
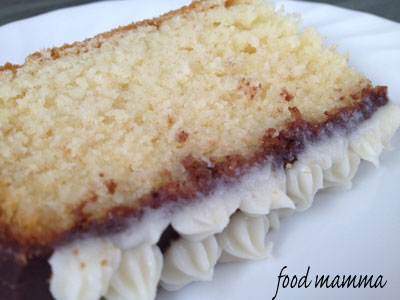
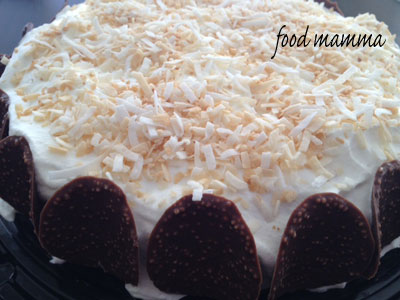
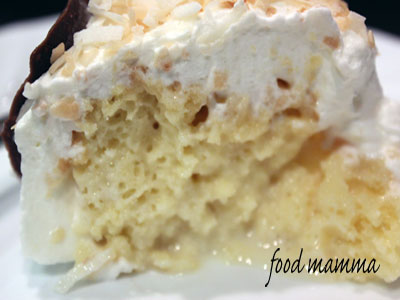
Last month, we had a delicious cake to celebrate my mother-in-law’s birthday. She requested Tres Leches but I decided to change it up a bit and make Coconut Tres Leches. The addition of the coconut just upped the flavour factor and made for an even tastier cake. Topped with toasted coconut, it was definitely a winner!
Coconut Tres Leches
From Chow
1 cup flour
6 large eggs
1 cup sugar
1 can condensed milk
2/3 cup evaporated milk
1/2 cup coconut milk
1 cup flaked coconut
1 1/2 cups whipping cream
1 TB icing sugar
Heat the oven to 325°F and arrange a rack in the middle.
Separate the eggs, placing the yolks in the bowl of a stand mixer. Reserve the whites in a separate, very clean, medium bowl. Add the sugar to the yolks and, using the paddle attachment, beat on high speed until pale yellow, about 5 minutes. Transfer the mixture to a large bowl; set aside. Thoroughly clean and dry the stand mixer bowl. Place the egg whites in the clean bowl and, using the whisk attachment, whip on high speed until medium peaks form, about 1 1/2 minutes.
Using a rubber spatula, stir about a third of the egg whites into the yolk mixture to lighten it. Then gently fold in the remaining whites. Sprinkle the flour over the egg mixture and gently fold it in, just until there are no more white flour streaks. (Do not overmix.)
Pour the batter into the prepared baking dish and bake until the cake is puffed and golden and the edges pull away from the sides of the pan, about 20 to 25 minutes.
Meanwhile, place the three milks in a large bowl and whisk until combined; set aside.
Remove the cake from the oven and place on a wire cooling rack. Using a toothpick or wooden skewer, poke holes all over the cake and allow to cool for 15 minutes. Pour the milk mixture evenly over the cake and continue cooling, about 45 minutes more. Tightly cover with plastic wrap and refrigerate at least 4 hours or overnight.
When the cake is ready to serve, spread the coconut in an even layer in a large frying pan. Toast over medium heat, stirring often, until lightly browned and fragrant, about 5 minutes.
Place the whipping cream and icing sugar in large bowl and whisk until medium peaks form. Top the cake with the whipping cream and toasted coconut.
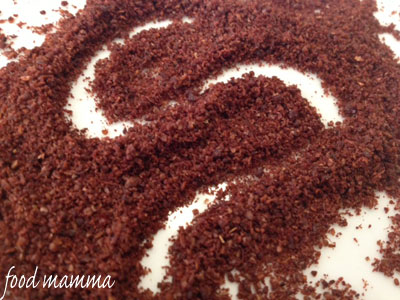
I have heard much about the spice sumac and came across it recently in a local middle eastern store. The sumac spice is made from ground dried sumac berries, which are a relative of poison ivy(!).
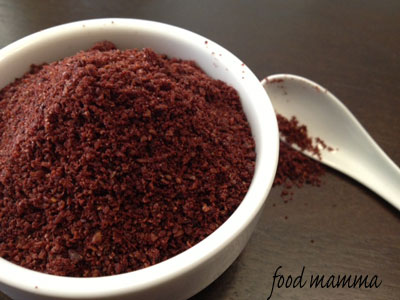
Sumac is a middle eastern spice that is burgundy in colour. The taste of sumac is lemony and tart but more complex than a lemon. It is used as a condiment, like salt, but also in spice rubs, dressings and marinades. The spice is gaining in popularity. In fact, Alton Brown named sumac his official spice of 2012.
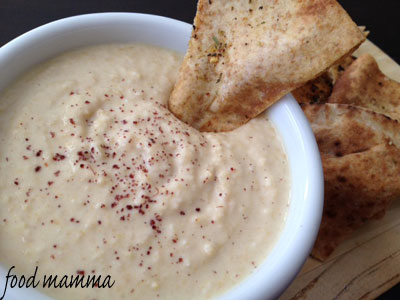
You often encounter sumac at donair shops, sprinkled over the raw onions. It is also a great topping for hummus.
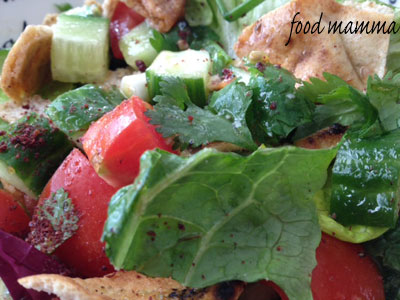
Sumac is best known for being a key ingredient in Fattoush, a middle eastern salad containing pieces of crispy pita bread. The salad is made with romaine lettuce, chunks of cucumber and tomatoes, herbs like mint and parsley and tossed together with the pita and the dressing. I used sumac in the dressing as well as sprinkled it on top. It adds a great sweet and sour taste to a refreshing salad.
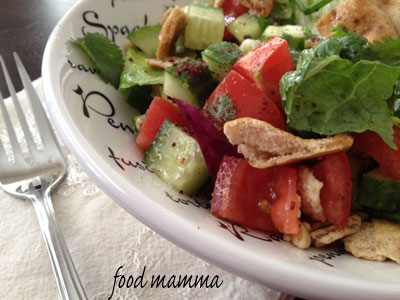
Fattoush (Middle Eastern Pita Bread Salad)
Romaine Lettuce
Tomatoes, diced
Cucumbers, diced
Green onions
Parsley
Mint
Sumac
1 pita bread, brushed with oil and toasted
Dressing:
1/4 cup olive oil
zest of one lemon
Juice of one lemon
1 tsp minced garlic
1/4 tsp sumac
Mix the salad ingredients together. Top with as much dressing as you need and then sprinkle with some sumac.
There is more winning here with the Calgary Home and Garden Show! They have a fabulous gift basket containing items from a few of the businesses featured at the great event. Along with two tickets to the home show, this basket contains some great items, from amazing food & snacks to discounts on services.

Items in this gift basket include:
Craft beer mug and gift certificate
Crave cupcakes gift card for cupcake pack
Trend Trunk gift card
$200-$2,600 discount off of Sunshine houseboat rentals depending on coupon #
Aspen Clean cleaning kit
Swimco sunglasses
Kienna coffee pods and adapter
Green kids crafts seed pod kit
Awake chocolate bar
Dominion Lending Centre Letter openers
Tums
Glad bags
15% off of Waite Woodbeck imagery and Design
Entering is easy! Contest closes on Wednesday at 12pm. Click here for another chance to win tickets.
Q is very excited. He just found out that he gets to see his favourite builder friend again at the Calgary Home and Garden Show taking place next weekend, February 28th to March 3rd.

Family Day at the Calgary Home and Garden show will take place on Friday, March 1st, 2013. Bob the Builder is back again and will be performing shows at 12:15pm and 3pm. Keep the kids entertained with interactive, animal-themed play sessions hosted by the Calgary Zoo, ambulance tours hosted by Calgary EMS and giant LEGO house-building. You can have fun as well with cooking demos, discovering what’s new in design and filling your belly at food truck alley.
Enter below to win tickets to the show. Winners will be chosen on Wednesday, February 27th and tickets will be available at Will Call. For readers who don’t win passes but are still interested in attending the show, enter the discount promo code “BLOG”. Click here for more information.
Click here for another chance to win tickets.
With Valentine’s Day being in February, it seems appropriate that it is Heart Health Month.
Kashi has a new addition to its family of natural foods – Blueberry Oat Clusters and Flakes, just in time for Heart Health Month. Each cup of this cereal contains 6 grams of protein and offers 45
percent of the daily amount of fibre shown to help lower cholesterol.
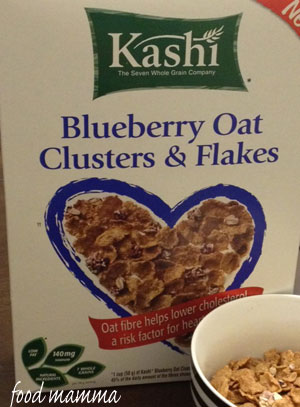
Q loved the blueberry taste and I liked having both the flakes and the clusters – you don’t have to choose!
Kashi wants you to try a box for yourself. Enter below for your chance to win!