
eid greetings
Food | Travel | Family | Life
It was hubby’s birthday last Saturday. With his birthday being so close to Halloween, we usually have a costume party. This year was no different, except that it was themed – Arabian! An afternoon party was planned to make it easy for the folks with children and early bedtimes.
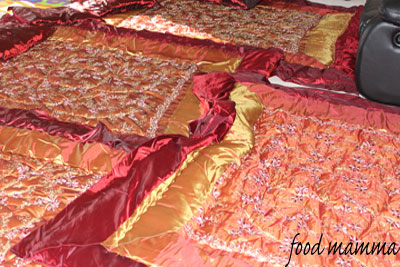
Our friends obliged with costumes dressing as gypsies, Arabian princesses and sheiks. Red and gold duvets (thanks to my MIL) covered the floors along with pillows galore.
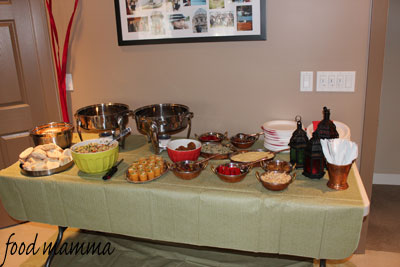
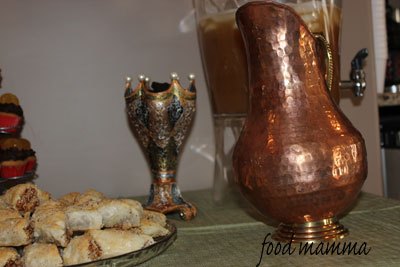
Floors and tables were decorated with amazing lanterns from a friend who had used them at her July wedding as centrepieces (thanks A!). Food was served in copper serving dishes, water from a copper pitcher (thanks S!).
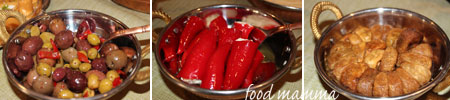
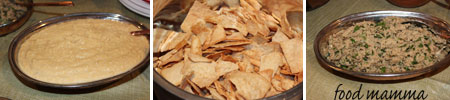
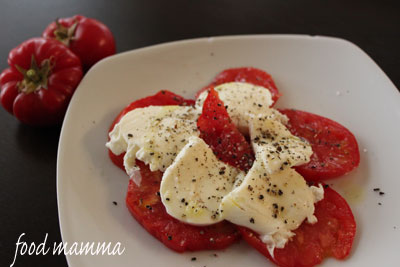
Food was plentiful, inspired by Middle Eastern and Moroccan specialties. Little copper bowls were filled with olives, figs and sweet peppers stuffed with feta.
Bowls of baked pita chips waiting to be dipped in creamy hummus and chunky baba ghaouj.
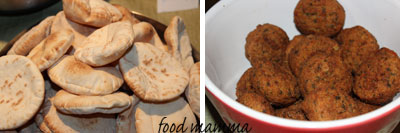
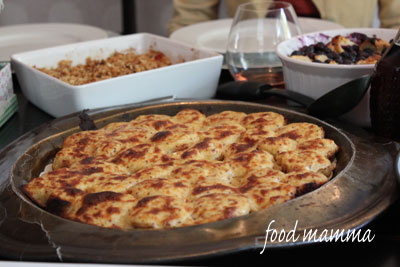
Mini falafel balls ready to be loaded into mini pitas.
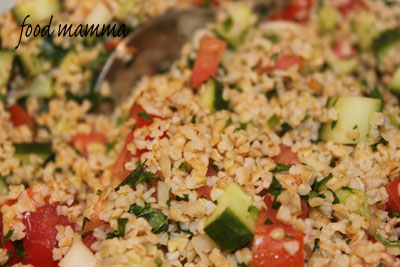
Tabouli with parsley, bulgar and veggies made a tasty side.
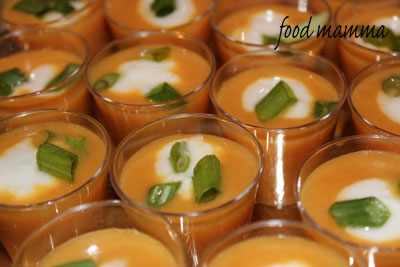
Refreshing shot glasses of chilled carrot and cauliflower soup were topped with a dollop of yogurt and were a hit with even the kidlets.
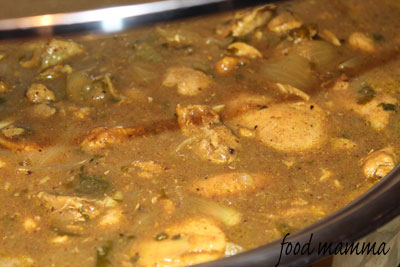
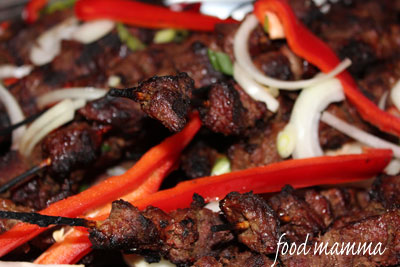
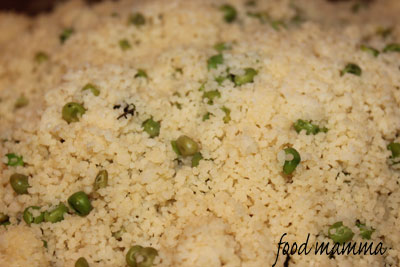
The main course consisted of a chicken tagine and marinated beef skewers topped with onions and red peppers. Pea and mint couscous was the perfect starch to absorb the flavourful sauce from the tagine.
We had cupcakes to celebrate, mini coconut ones with a buttercream frosting. These were topped with gold chocolate coins, making them little treasures for everyone to devour. The idea for these came from an old friend on Twitter. Thanks N!

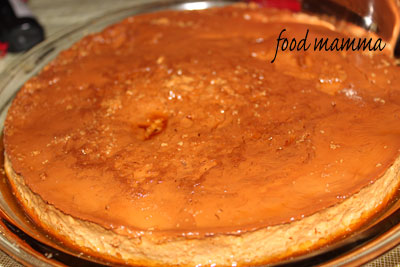
Hubby had a request for my mom’s creme caramel and she happily obliged. It’s one of her specialties and it was delicious as always.
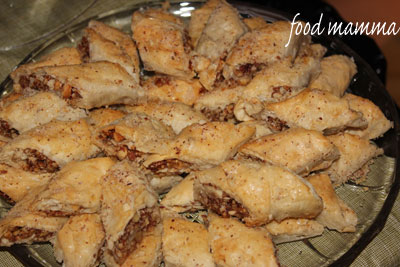
Mom also brought a platter of homemade baklava. The flaky layers of phyllo were filled with almonds, pistachios and cashews and covered in a sweet rose glaze. Luckily she made lots and I’m still snacking on them.
Thanks for everyone’s help in making hubby’s birthday special!
It had been one of those days and we were all feeling a little blah. Dinner needed to be something that would fill us and cheer us up at the same time. Pasta came to mind as being the perfect comfort in a bowl. Q was up for pasta, especially when he got to pick out what shape he wanted. After much deliberating at the supermarket, he finally settled on the rotini.
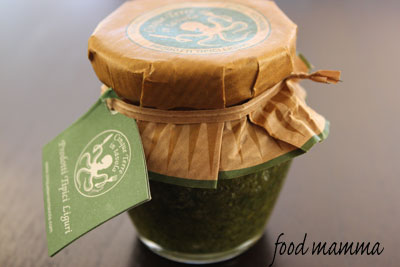
I had a jar of pesto that my sister had brought back for me from Cinque Terre, a little town on the Italian Riviera. I had been wanting to use it for a while and knew it would make the perfect sauce with some cream. The addition of shrimp and fish along with some veggies made it a quick weekday meal which we devoured. It was perfect with some french bread smothered in some boursin.
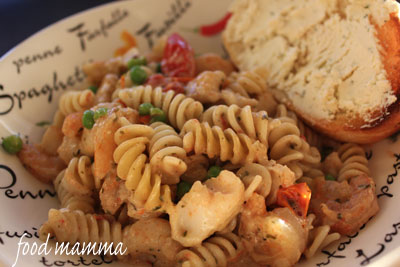
Seafood Pasta with Pesto Cream Sauce
3/4 cup whipping cream
3 tsp pesto
3 cloves garlic
1 cup cherry tomatoes, halved
1/2 cup frozen peas
1 pound shrimp
1 filet basa
olive oil
salt
pepper
Saute shrimp, fish, garlic and tomatoes for 5 minutes. Add cream and pesto and bring to a boil. Turn down the heat and let simmer until cream thickens. Season with salt and pepper. Toss with your favorite pasta.
Last Sunday, we enjoyed a fabulous brunch at Julie‘s house. Charmian Christie, a food writer and blogger from Ontario, was in town and Julie graciously invited some local food bloggers for a potluck. Julie has the best potlucks and this was another hit.
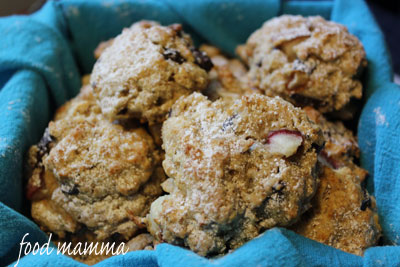
Julie made some lovely scones which were amazing with clotted cream. It was great seeing Vincci again and she made a very delicious deep dish french toast. This is definitely something I will try making soon. I finally met Dan for the first time. I’ve been following him on twitter for so long, I feel like I’ve known him forever! He made a quiche topped with roasted tomatoes.
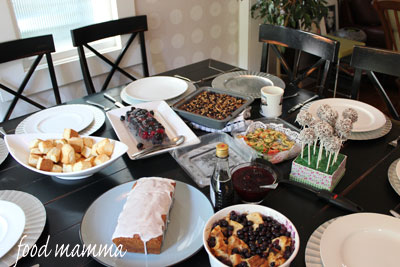
It was fun to meet Pierre, author of Kitchen Scraps. As promised, he brought something roasty and toasty – welsh rarebit, and something jiggly and fruity – a gelatin infused with lemon verbena and loads of berries.
Gwendolyn made a very yummy glazed applesauce cake. It was great meeting Wendy from Yelp who brought a delicious baked oatmeal dish. My friend Cheryl brought a tomato crisp as well as some chocolate tonka bean scones. Both were amazing!
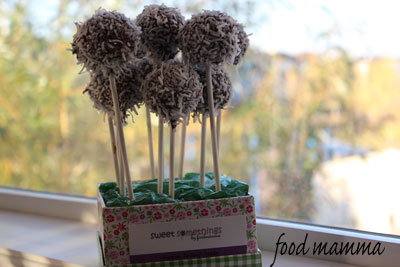
Along with some mini egg cups, I brought some coconut cake pops. This is my new venture as Sweet Somethings by Food Mamma. These aren’t the traditional cake pops of crumbled cake and icing made into balls. These are pure balls of delicious cake. I was a bit nervous bringing these to some food aficionados.
Thanks for another great potluck Julie!
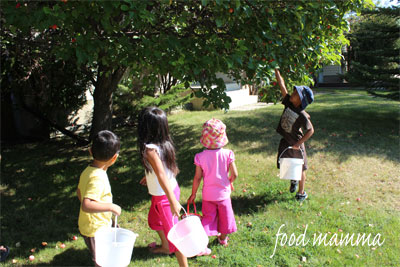
Last week, Q and his cousins went over to my aunt’s house for apple picking, something that has become an annual event. The kids, aged 2 to 5, using ice cream pails as baskets, gathered as many little crab apples that they could. It didn’t take long, but it was really cute, watching them scramble to see who could get to the apples first.
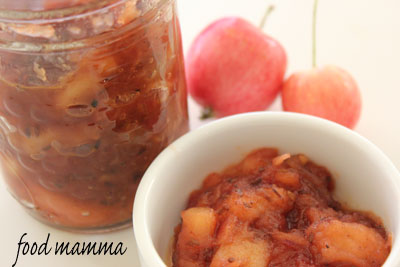
We came home with half a pail of apples. Since my oven was still not working (have I complained about that enough yet), a pie was not an option unless I wanted to use the little toaster oven. I had seen on twitter mentions of an apple chutney by Aarti Sequeira, of Aarti Party on Food Network (why do we not have this show yet in Canada?). I had to make some changes as I didn’t have a few of the ingredients. The original recipe can be found here.
The resulting chutney was thick and sweet with just a hint of spice. It was a great savoury way to use the crab apples!
Crab Apple and Ginger Chutney
(adapted from Aarti Party, Food Network)
2 TB canola oil
1 tsp cumin seeds
1/2 yellow onion, thinly sliced
1/2 tsp chili powder
1 pound crab apples, cored and diced
1 6″ piece ginger, cut into matchsticks
1/2 cup sugar
2 TB white wine vinegar
salt
pepper
Warm the oil in a medium pot over medium-high heat. Add cumin seeds and cook for 30 seconds. Add the onions and cook until golden, 8 – 10 minutes. Add the chili powder and stir constantly for 30 seconds. Add the apples, ginger, sugar, vinegar, salt and pepper and stir. Cook until the sugar thickens and apples soften, about 15 minutes.
Last month, we finally had a chance to check out Anju, a Korean-inspired tapas restaurant. It seemed that everyone on twitter was talking about this place and raving about the great food, and I couldn’t wait to try it.
Anju is located in a cute little house converted into a restaurant in downtown Calgary. It was a good thing we had made reservations because the place was packed.
I had heard amazing things about their gochujang chicken wings, and knew we definitely needed to try them. The reviews did not disappoint and this was our favorite dish of the night. The sticky sauce was spicy but I couldn’t get enough. I’m hungry just thinking about these wings.

We also tried the oxtail tortellini which I loved! This was finished with truffle oil and cheese.
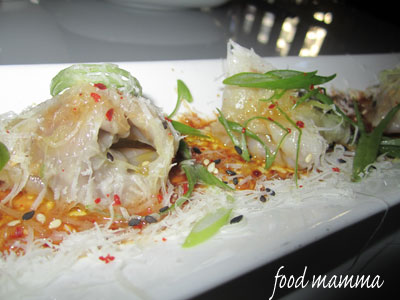
The spicy salmon tacos were great! A little messy to eat but incredibly tasty. They had just the right amount of heat and Q loved the crisp wontons.

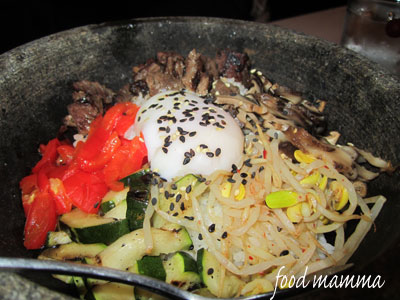
Our server recommended the stone rice bowl which we had with beef. It was good but after the flavour we experienced in our tapas, this seemed a little bland. We asked for a side of the gochujang sauce and it perked up the dish tremendously. We really enjoyed it after the addition of the sauce. Q, who can eat eggs every day for every meal, was very happy that the dish had one.
All in all, it was a great experience. I would definitely go back to enjoy a flavourful meal of appetizers.
![]()
The end of August was spent in the Okanogan. Our week in Kelowna included quality family time and enjoying the sun, sand and water. What really excited me was having a working oven for a week! I’ve been a little lost with mine still not working, and I’ve been missing baking with Q.
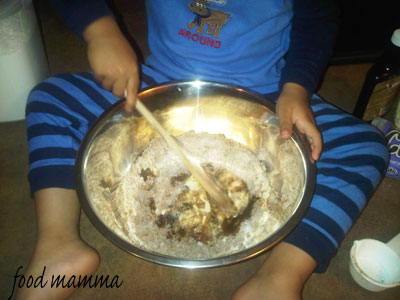
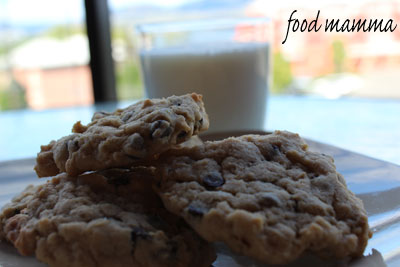
I had most of the ingredients with me, but no baking soda or a mixer. I made a few changes and within twenty minutes, we were eating warm cookies with cold milk. The cookies were also great later in the day when we sandwiched some vanilla ice cream between them.
Chocolate Chip Cookies
3/4 cup sugar
3/4 cup brown sugar
1 stick butter, softened
2 large eggs
1 tsp vanilla extract
2 tsp baking powder
2 1/4 cups flour
2 cups semi-sweet chocolate chips
Preheat the oven to 375°.
Combine the sugars and softened butter. Once combined, add the eggs, one at a time. Add vanilla. In a separate bowl, combine the dry ingredients and add to the wet mixture. Mix until completely blended. Add the chocolate chips. Drop dough on a greased cookie sheet.
Bake at 375 degrees for 10-12 minutes. Makes 3 dozen cookies.
We celebrated another anniversary this month – my in-laws. We had a Mexican feast to celebrate their 36 years of marriage.
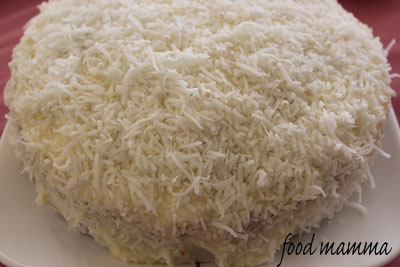
I had a cake in mind that I wanted to try and this seemed like the perfect opportunity to make it. I had seen Ina’s famous coconut cake many times on her show Barefoot Contessa. It was also recently showcased on Next Food Network Star so I knew I just had to try it out.
I gathered the ingredients together and when I went to preheat the oven, I found that my oven had completely stopped working! I was not going to let that stop me from making this cake, so I loaded up my car and finished the cake off at my parents.
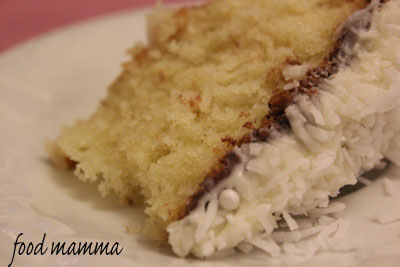
I made a few changes to up the coconut factor and of course I had to add some chocolate. I made one layer rather than two and found that it was the perfect amount. This cake was a hit! I even saw my father-in-law have seconds – unusual for someone who doesn’t eat sugar. I will definitely be making this cake again and again (once I get my oven fixed).
Coconut Cake
1 1/2 sticks butter, softened
1 cup sugar
3 eggs
3/4 tsp vanilla extract
3/4 tsp coconut extract
1 1/2 cups flour
1/2 tsp baking powder
1/4 tsp baking soda
1/4 tsp salt
1/2 cup coconut milk
2 ounces sweetened shredded coconut
nutella
cream cheese frosting (below)
Preheat the oven to 350 degrees and grease one 9-inch round cake pan.
Cream the butter and sugar on medium-high speed for 3 to 5 minutes, until light yellow and fluffy. Add eggs 1 at a time. Add the extracts and mix well.
In a separate bowl, sift together the flour, baking powder, baking soda and salt. Alternately add the dry ingredients and the milk to the batter in 3 parts, beginning and ending with dry ingredients. Mix until just combined and then fold in the coconut.
Bake in the center of the oven for 45 to 55 minutes. Cool on a baking rack for 30 minutes before frosting.
Cover the top of the cake with nutella. Wait 5 minutes before icing the entire cake with the cream cheese frosting and covering it with coconut.
Cream Cheese Frosting
1 package cream cheese
1 stick butter, softened
1/2 tsp vanilla extract
1/4 tsp coconut extract
1/2 pound icing sugar
3 ounces sweetened shredded coconut
Combine the cream cheese, butter, and extracts on low speed. Add the icing sugar and mix.