Happy Birthday to an amazing lady, my mom! Thanks for everything mom – love you!
foodmamma
lemongrass shrimp
Q started unparented swimming classes this week. It amazes me that he’s already ready to get in the water without mamma and daddy. Time is flying by so quickly! Swimming days means crazy days – a quick dinner before rushing out the door and making the trek to another part of the city. I had to ensure that just in case hubby came home late from work, he would have something he could just grab and go.
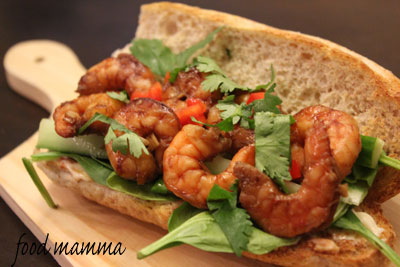
A sandwich seemed like the perfect thing but no ordinary sandwich would do. I had bought lemongrass the day before and thought it would be great with shrimp. Settled into a bun, it was the delicious Asian fast food at home.
After toasting a whole wheat bun, I slathered it with a little bit of mayo and some sambal oelek. A few leaves of spinach held the shrimp which was then topped with onions, red peppers, cucumbers and cilantro. The shrimp was great on its own, but the bun added a great twist.
Lemongrass Shrimp
1 pound shrimp
1 TB chopped lemongrass
1 TB fish sauce
1 tsp grated ginger
1 tsp sesame oil
2 tsp soya sauce
2 tsp teriyaki sauce
Mix everything together and marinate for one hour. Place on greased sheet and bake at 350 degrees for 10 minutes.
chicken tagine
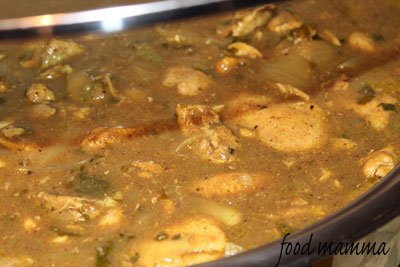
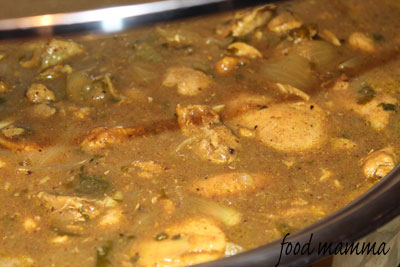
When planning hubby’s birthday last month, I knew I wanted to make a tagine to keep with the theme of the party, “An Arabian Afternoon”. I had actually never had tagine, I just knew that it was an earthy Moroccan stew. I searched many recipes trying to find something easy that had ingredients I already had in the house. I finally settled on one by Melissa D’Arabian (Ten Dollar Dinners). Not being a big fan of olives, I left those out. I tested the recipe a week before the party and it was a success! Hubby loved it so much, he finished the entire thing – always a good sign. The combination of the turmeric and cinnamon gave the tagine a deep flavour. Although preserved lemons were called for in every recipe that I looked at, we both weren’t fans. When I made the dish for the party, we left that out. Everyone really seemed to enjoy the tagine and it was wonderful on couscous, a great vehicle to absorb all that yummy sauce.
Chicken Tagine
Adapted from Melissa D’Arabian2 pounds chicken thighs, cut into large pieces
1 TB butter
2 TB olive oil
1 onion, chopped
1 TB ginger, minced
1/2 tsp turmeric
1/2 tsp cinnamon
3 cloves garlic, minced
1/2 cup chicken broth, divided
Flat leaf parsley, handful
Cilantro, handful
Salt Pepper
Pat the chicken dry, and season well with salt and pepper.
Heat the butter and olive oil over medium-high heat, and brown the chicken on all sides. Add the onion, ginger, turmeric, cinnamon, and cook until onion is translucent, about 3 minutes. Season with salt and pepper, and add the garlic and stir for a minute. Increase heat and deglaze with half the broth, stirring, and allowing it to bubble. Add the remaining broth and bring to a boil. Lower the heat, and cover and simmer gently for 45 minutes.
raw bar
It’s been weeks since we visited Raw Bar but I’m still thinking about the amazing food we had that night. Tucked away in Hotel Arts, we were lucky to get a reservation. The place was packed and we soon discovered why.
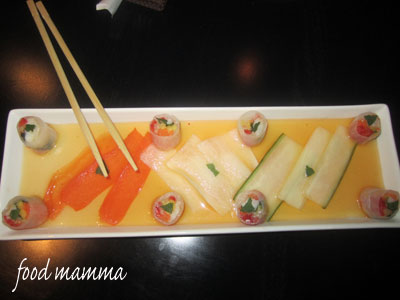
It was hard to decide which appetizer, everything looked so good. We decided to share the BC Spot Prawn and Papaya Salad Roll. This was a really pretty dish to look at. Eight mini rolls were served on a long platter on top of strips of cucumber, carrot and daikon. It was really tasty and left us wanting more.
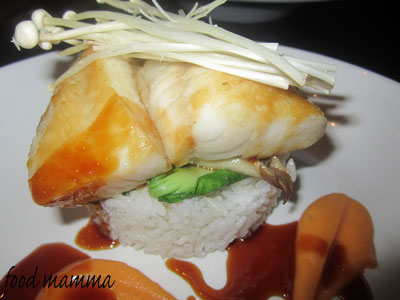
Seafood prevailed in our main course with both of us choosing fish dishes (and splitting them of course). We settled on the Miso Black Cod Donburi which was served with king oyster mushrooms, sticky rice and teriyaki sauce. This was such a great fish and I really loved the Asian flavours.
The other dish we had was the Salmon. This came with lemon ricotta tortellini, spring vegetables in a shellfish broth. The salmon was prepared perfectly and hubby was happy that it was paired with the pasta.
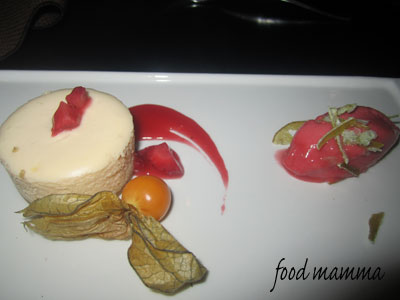
As full as we were, we ordered dessert. We had a white chocolate cheesecake which was served with a strawberry sorbet. I was looking forward to the coconut lime sorbet it was supposed to come with but this was still delicious and satisfying.
All in all, it was a great evening and I look forward to going back!
tabouli
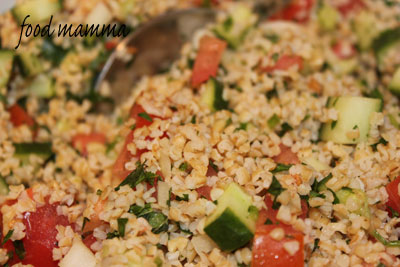
When putting together the menu for hubby’s party, he requested tabouli for the salad course. Tabouli is a popular salad in the Middle East predominantly made with bulgar wheat and parsley. When searching for a recipe, there were so many variations! I finally settled on one from Guy Fieri, from one of the drive-ins he visited for his show, “Diners, Drive-ins and Dives“.
This was a refreshing salad and it provided not only a refreshing side for our arabian feast but also a great leftover lunch.
Tabouli1 cup water
1 cup fine cracked wheat
1 cup minced fresh parsley leaves
1/2 cup minced fresh mint leaves
1/2 cup finely chopped yellow onion
3 tomatoes, diced
2 cucumbers, seeded and diced
3 tablespoons olive oil
3 tablespoons lemon juice, or to taste
1 teaspoons sea salt
In a large mixing bowl, pour the water over the cracked wheat and cover, let stand about 20 minutes until wheat is tender and water is absorbed. Add the chopped herbs and vegetables and toss with the mix. Combine the oil, lemon juice, and salt in a separate bowl. Add to wheat mixture and mix well. Chill. Serve and enjoy.
eid greetings
an arabian afternoon for hubby’s birthday
It was hubby’s birthday last Saturday. With his birthday being so close to Halloween, we usually have a costume party. This year was no different, except that it was themed – Arabian! An afternoon party was planned to make it easy for the folks with children and early bedtimes.
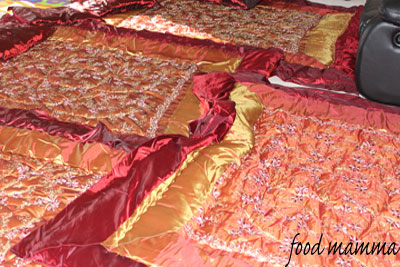
Our friends obliged with costumes dressing as gypsies, Arabian princesses and sheiks. Red and gold duvets (thanks to my MIL) covered the floors along with pillows galore.
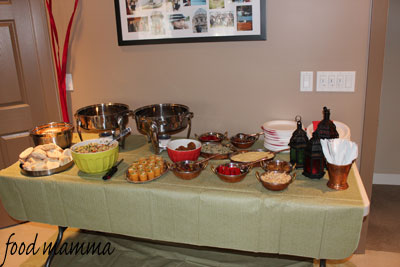
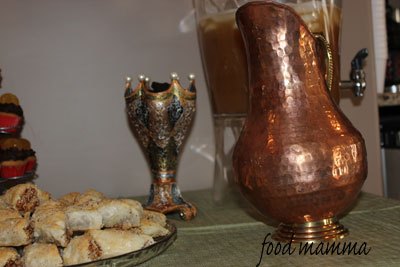
Floors and tables were decorated with amazing lanterns from a friend who had used them at her July wedding as centrepieces (thanks A!). Food was served in copper serving dishes, water from a copper pitcher (thanks S!).
Food was plentiful, inspired by Middle Eastern and Moroccan specialties. Little copper bowls were filled with olives, figs and sweet peppers stuffed with feta.
Bowls of baked pita chips waiting to be dipped in creamy hummus and chunky baba ghaouj.
Mini falafel balls ready to be loaded into mini pitas.
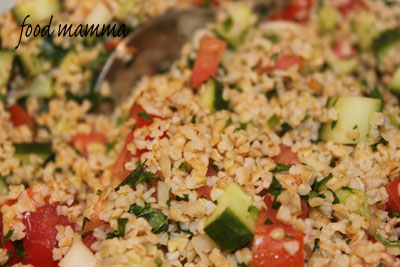
Tabouli with parsley, bulgar and veggies made a tasty side.
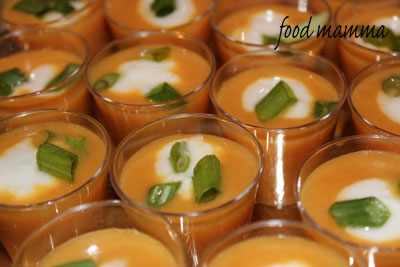
Refreshing shot glasses of chilled carrot and cauliflower soup were topped with a dollop of yogurt and were a hit with even the kidlets.
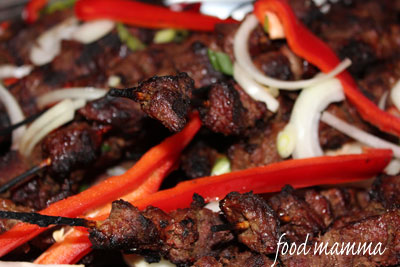
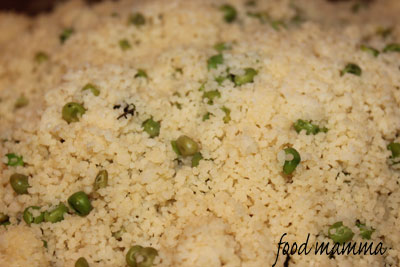
The main course consisted of a chicken tagine and marinated beef skewers topped with onions and red peppers. Pea and mint couscous was the perfect starch to absorb the flavourful sauce from the tagine.
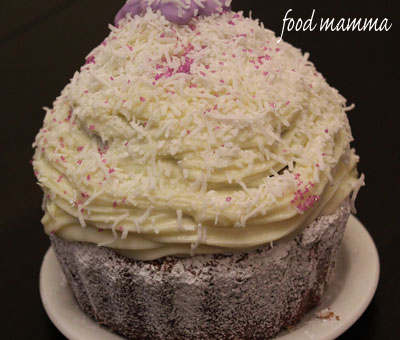
We had cupcakes to celebrate, mini coconut ones with a buttercream frosting. These were topped with gold chocolate coins, making them little treasures for everyone to devour. The idea for these came from an old friend on Twitter. Thanks N!
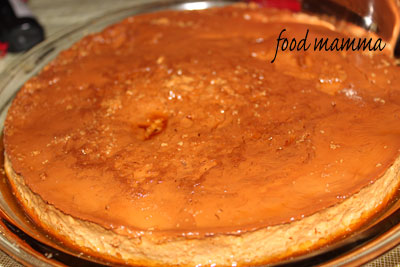
Hubby had a request for my mom’s creme caramel and she happily obliged. It’s one of her specialties and it was delicious as always.
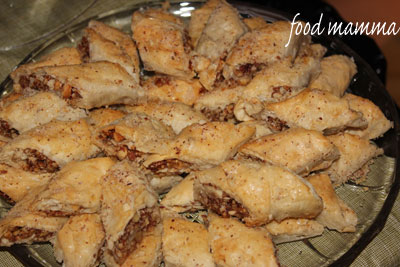
Mom also brought a platter of homemade baklava. The flaky layers of phyllo were filled with almonds, pistachios and cashews and covered in a sweet rose glaze. Luckily she made lots and I’m still snacking on them.
Thanks for everyone’s help in making hubby’s birthday special!
seafood pasta with pesto cream sauce
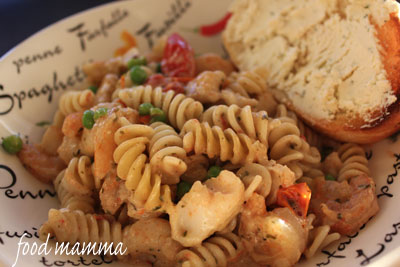
It had been one of those days and we were all feeling a little blah. Dinner needed to be something that would fill us and cheer us up at the same time. Pasta came to mind as being the perfect comfort in a bowl. Q was up for pasta, especially when he got to pick out what shape he wanted. After much deliberating at the supermarket, he finally settled on the rotini.
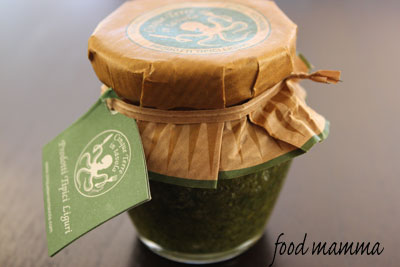
I had a jar of pesto that my sister had brought back for me from Cinque Terre, a little town on the Italian Riviera. I had been wanting to use it for a while and knew it would make the perfect sauce with some cream. The addition of shrimp and fish along with some veggies made it a quick weekday meal which we devoured. It was perfect with some french bread smothered in some boursin.
Seafood Pasta with Pesto Cream Sauce
3/4 cup whipping cream
3 tsp pesto
3 cloves garlic
1 cup cherry tomatoes, halved
1/2 cup frozen peas
1 pound shrimp
1 filet basa
olive oil
salt
pepper
Saute shrimp, fish, garlic and tomatoes for 5 minutes. Add cream and pesto and bring to a boil. Turn down the heat and let simmer until cream thickens. Season with salt and pepper. Toss with your favorite pasta.
brunch with foodies
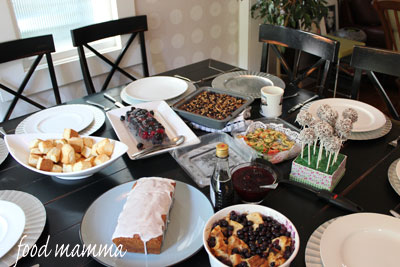
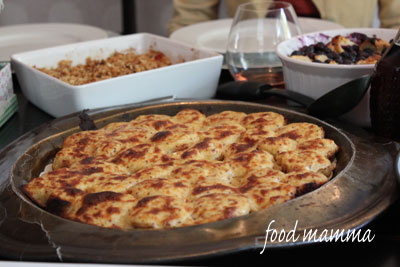
Last Sunday, we enjoyed a fabulous brunch at Julie‘s house. Charmian Christie, a food writer and blogger from Ontario, was in town and Julie graciously invited some local food bloggers for a potluck. Julie has the best potlucks and this was another hit.
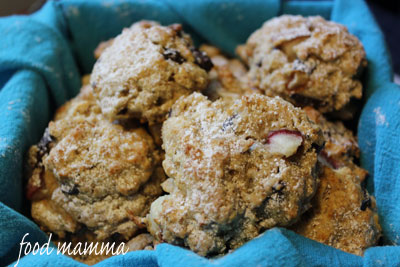
Julie made some lovely scones which were amazing with clotted cream. It was great seeing Vincci again and she made a very delicious deep dish french toast. This is definitely something I will try making soon. I finally met Dan for the first time. I’ve been following him on twitter for so long, I feel like I’ve known him forever! He made a quiche topped with roasted tomatoes.
It was fun to meet Pierre, author of Kitchen Scraps. As promised, he brought something roasty and toasty – welsh rarebit, and something jiggly and fruity – a gelatin infused with lemon verbena and loads of berries.
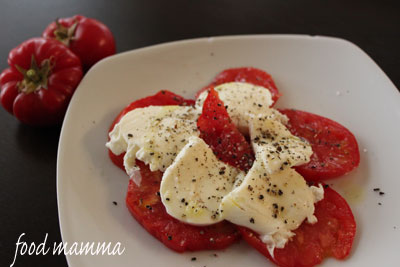
Gwendolyn made a very yummy glazed applesauce cake. It was great meeting Wendy from Yelp who brought a delicious baked oatmeal dish. My friend Cheryl brought a tomato crisp as well as some chocolate tonka bean scones. Both were amazing!
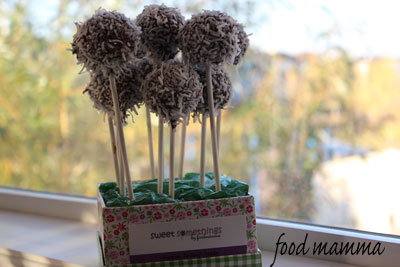
Along with some mini egg cups, I brought some coconut cake pops. This is my new venture as Sweet Somethings by Food Mamma. These aren’t the traditional cake pops of crumbled cake and icing made into balls. These are pure balls of delicious cake. I was a bit nervous bringing these to some food aficionados.
Thanks for another great potluck Julie!
