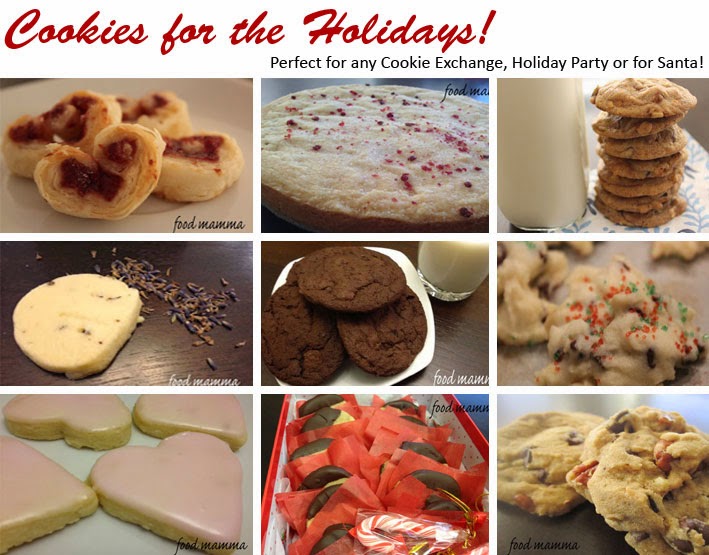
It’s December! That means it’s time to get baking for all those cookie exchanges, holiday parties and homemade gifts for family and friends. Here’s a round up of some cookies perfect for the occasion!
Cherry Jam Palmiers
One of the easiest cookies to make, these palmiers are fast with only a handful of ingredients.

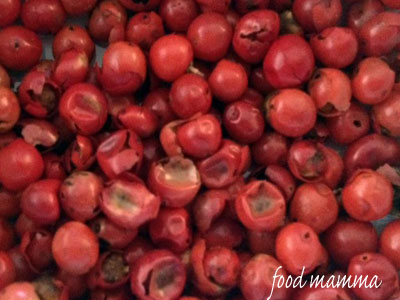
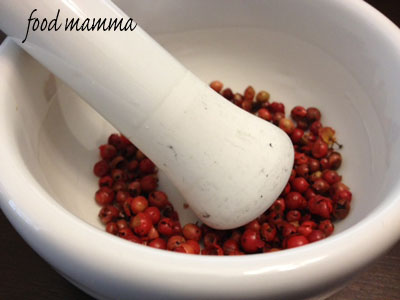
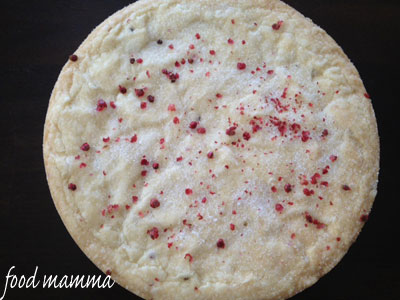
Peppercorn Shorbread
An odd combination, but these buttery peppery cookies are delicious!
Hazelnut Nutella Cookies
Soft and chunky, these are the perfect cookies to leave for the big man!

Lavender Shortbread
A little bit of lavender goes a long way in these buttery morsels.

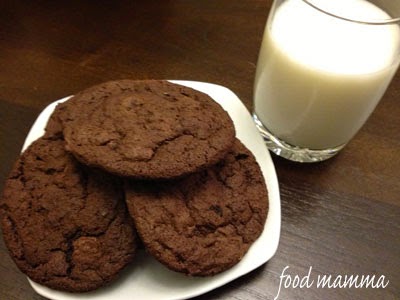
Mint Chocolate Cookies
Mint and chocolate are a match made in heaven. These cookies are soft and rich and pair perfectly with a glass of cold milk.
Chocolate and Almond Whipped Shortbread
These are one of my favourites and always a fun one for the kids to decorate. They are whipped for ten minutes and are buttery and delicious!
Heart Sugar Cookies
Made with love, the glaze on these babies is so delicious!

Chocolate Dipped Walnut Shortbread
The humble shortbread is elevated by the addition of walnuts and dipped in chocolate.

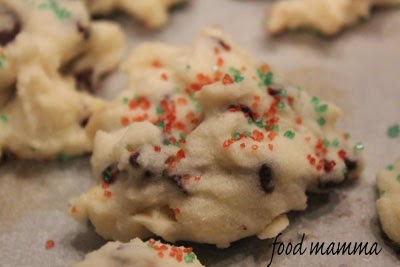
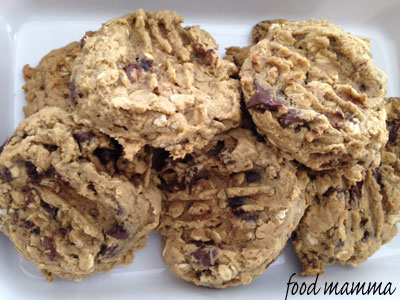
Chocolate Chip Cookies
Everyone is happy for a classic at a cookie exchange. These chocolate chip cookies are decadent and delicious.


 Save Recipe